
June 15, 2026
From docker run to an AI-assisted session in 15 minutes
Stand up a complete MisterShell workspace in a single Docker container, sign in, onboard a resource, turn on AI, and open an AI-assisted session attributed to you — on the free evaluation tier, no license key.
The fastest way to understand MisterShell is to run it. This guide goes from a single docker run to the real payoff — an AI-assisted session, attributed to you — in about fifteen minutes.
It all runs on the Free edition: 25 resources, no license key, no time limit. One container holds the entire workspace — UI, API, session gateway, embedded worker, database, and cache.
What you’ll need
- A Linux host with Docker (or Podman).
- Ports 80 and 443 free — we bind both and reach the UI at
https://localhost.
1. Run the container
Generate a database encryption key first and save it — MisterShell encrypts secrets at rest with it, and you need the same key on every restart or upgrade:
export DB_ENCRYPTION_KEY=$(openssl rand -hex 32)
echo "$DB_ENCRYPTION_KEY"   # save this
Then start the container — binding both ports and mounting one volume for persistence:
docker run -d --name mistershell \
  -p 443:443 -p 80:80 \
  -e DB_ENCRYPTION_KEY="$DB_ENCRYPTION_KEY" \
  -v mistershell_data:/data \
  mistershell/core:latest
The single /data volume holds the database, recordings, and event store. Everything starts automatically — within seconds the workspace is ready. (Proxied web-app sessions need two extra container flags for their headless-browser sandbox — the all-in-one deployment guide lists them; nothing else in this walkthrough needs them.)
On first start the container creates an
admin@mistershell.localaccount. Its password is never written to the logs — set it from the operator console:docker exec -it mistershell msh -y reset admin-userprints a fresh password once, to your terminal (run it again any time to rotate it or recover from a lockout). Prefer to have it ready before the container ever starts? Pass-e INITIAL_ADMIN_PASSWORD='<a strong password>'on thedocker runabove — it is read only when the admin account is first created.
2. Sign in
This evaluation serves a self-signed certificate, and simply clicking through the browser’s warning is not enough: MisterShell’s live-session WebSocket runs from a browser SharedWorker, which won’t use a self-signed cert even after you accept it — so you’d get signed in but every session would silently fail to open.
So start Chrome with certificate checks disabled (quit Chrome completely first, or the flag is ignored):
- Windows:
"C:\Program Files\Google\Chrome\Application\chrome.exe" --ignore-certificate-errors - macOS:
open -a "Google Chrome" --args --ignore-certificate-errors
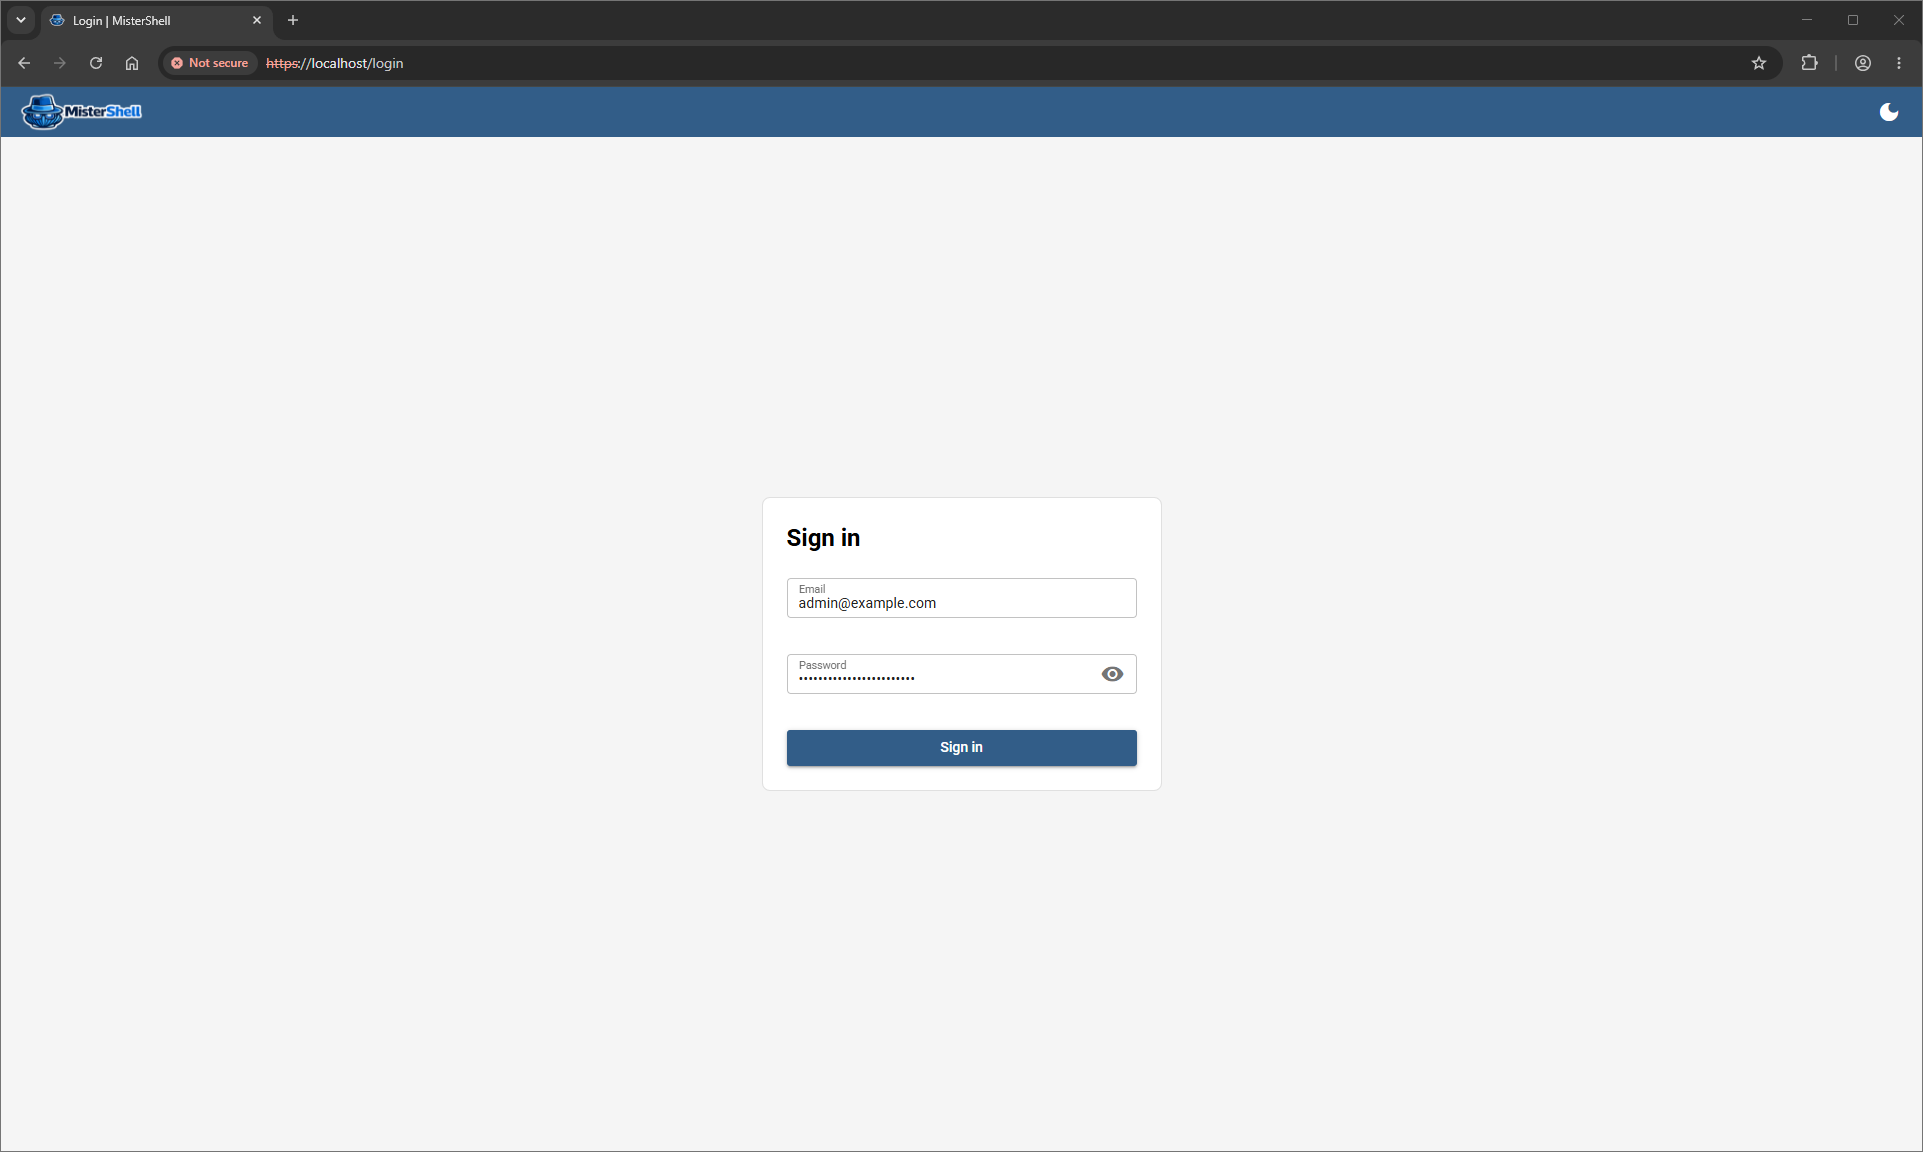
Then open https://localhost and sign in with your admin credentials.
For a real deployment, terminate TLS at a reverse proxy (or install a trusted certificate); the connection is then trusted and no flag is needed.
3. Configure the workspace — and connect AI
You land on the workspace home. For an evaluation the defaults are fine: Settings → System → Config is a guided panel for the essentials (collection cadence, TLS, password policy, SMTP, backups), and you can come back to it any time — each step saves on its own.
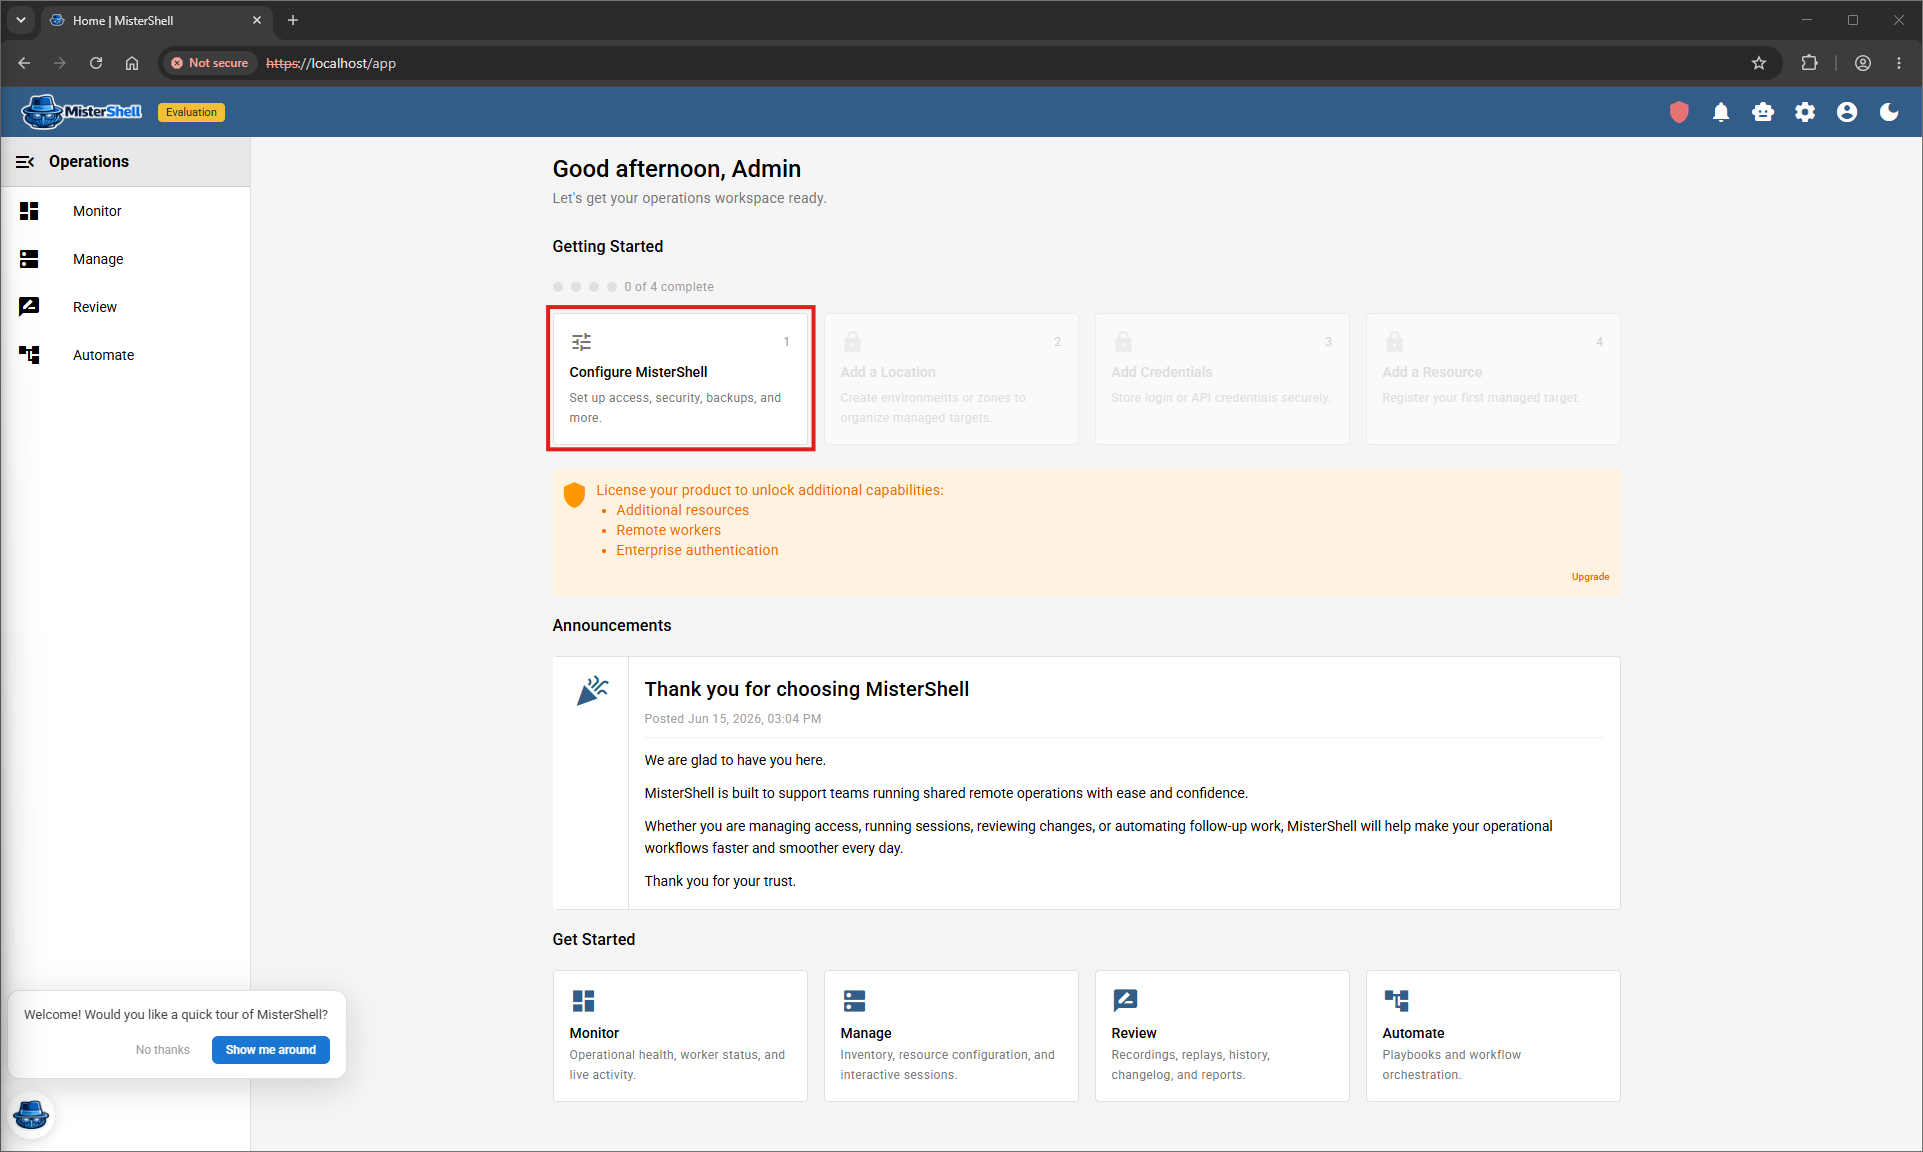
The one thing worth doing now is connecting a model. Open Settings → AI → Models, click Add Model, pick a provider (Anthropic, OpenAI, Azure OpenAI, Google, a self-hosted Ollama endpoint, and more), paste your API key, and tick Set as default model. Nothing is sent to the provider until you invoke the assistant.
4. Add a location
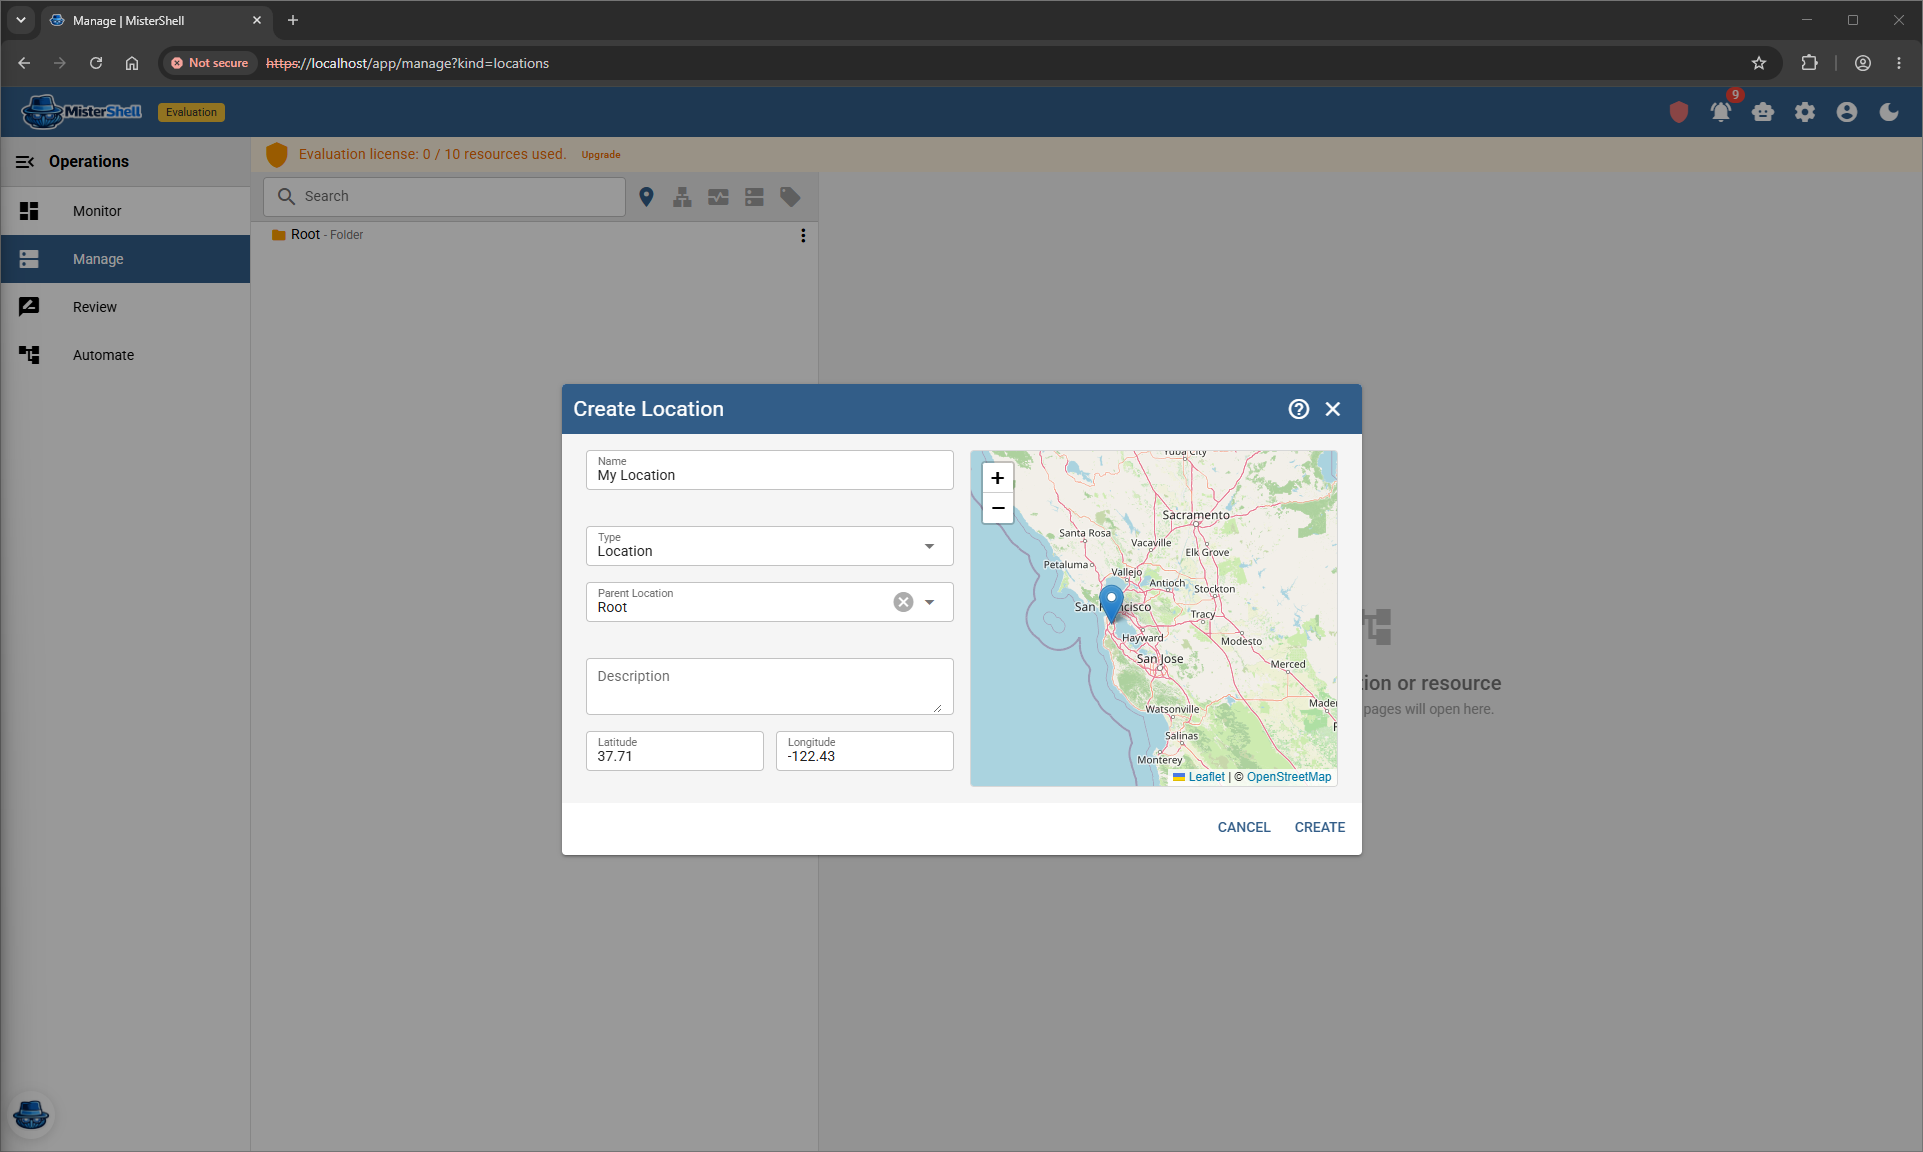
Locations organize resources into a hierarchy and can be pinned on a map — the basis of the fleet health map. Create one: give it a Name, optionally drop a map pin, and click Create.
5. Add a credential
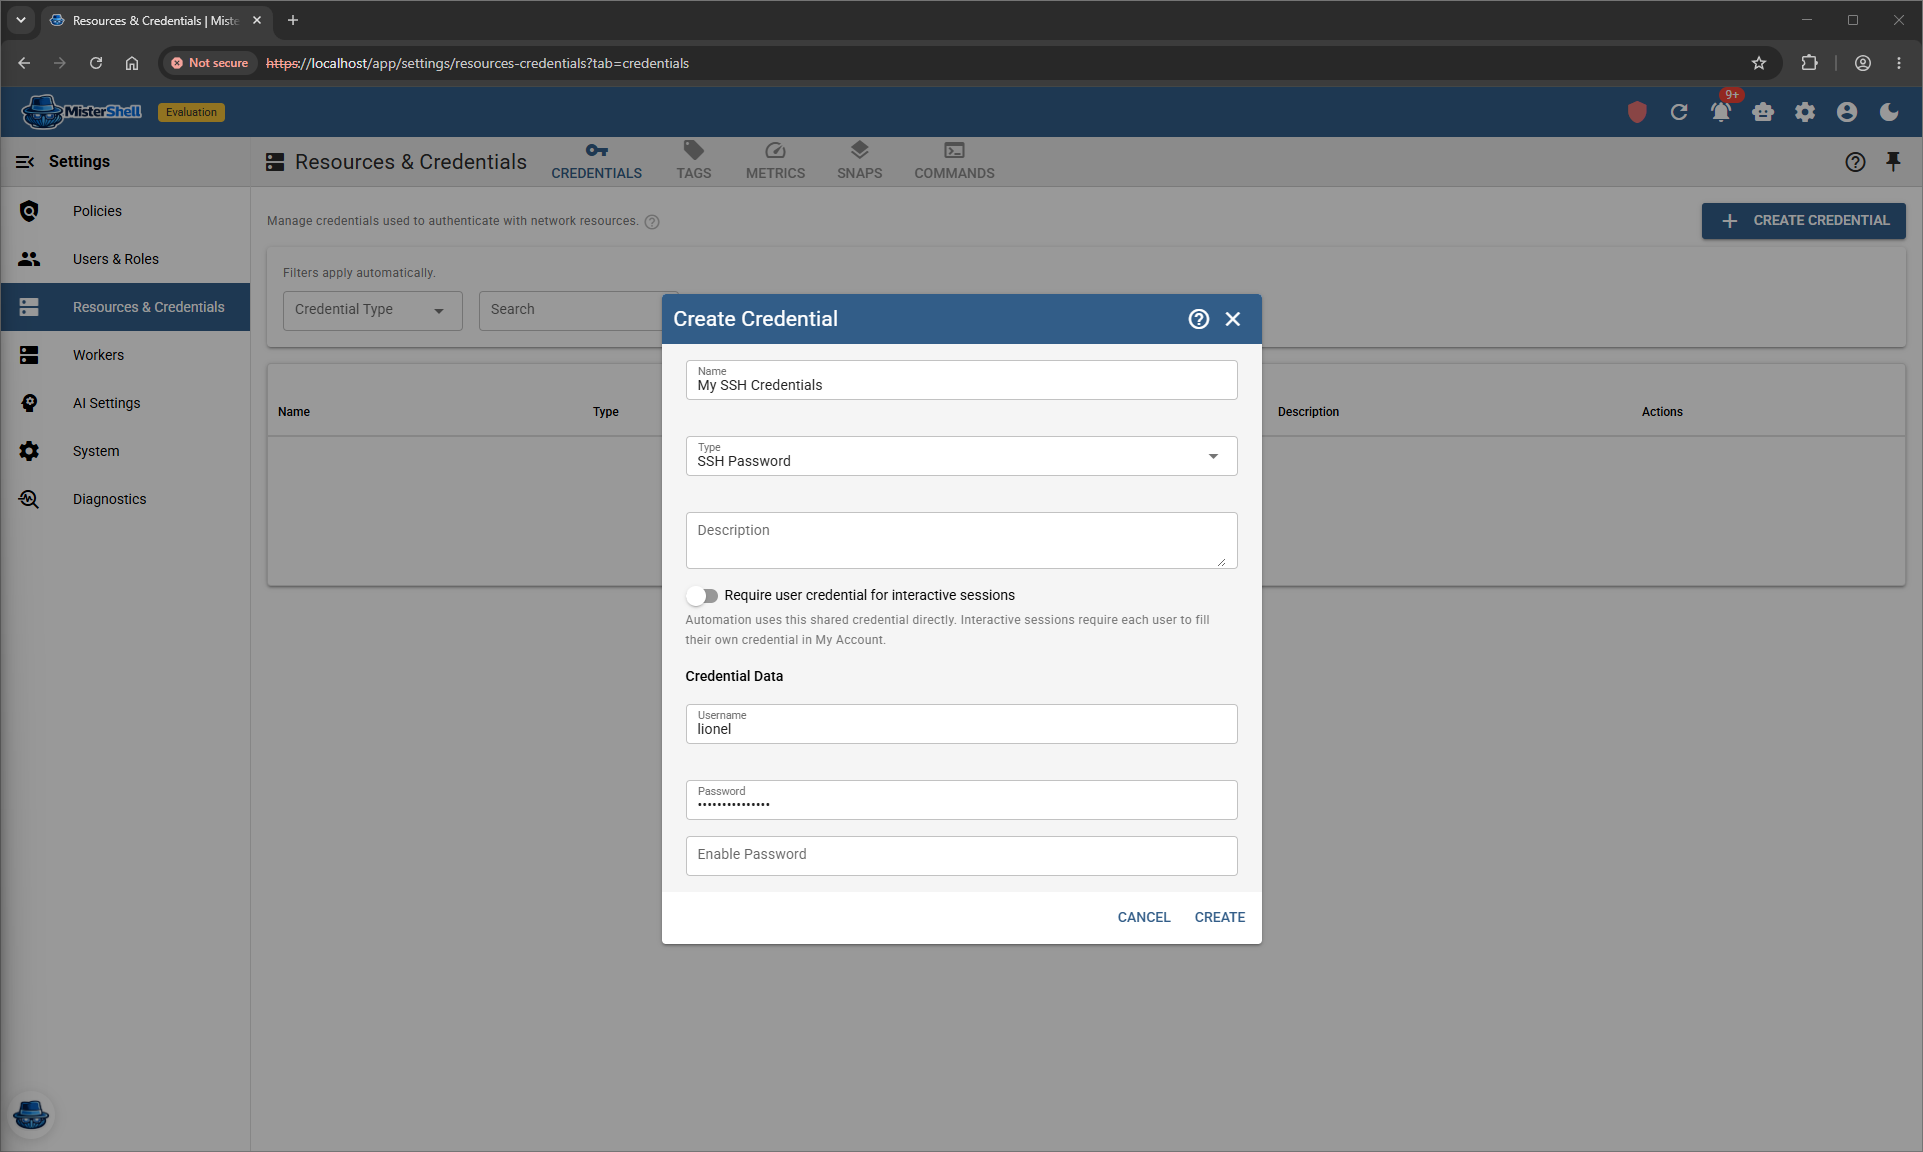
Credentials live in an encrypted vault, separate from the resources that use them. Pick a type — Username / Password is fine — and enter the username and password (or key) for a host you can reach.
Leave Require user credential for interactive sessions off, so this shared credential is used directly and your eval session connects with no per-user setup.
6. Onboard your first resource
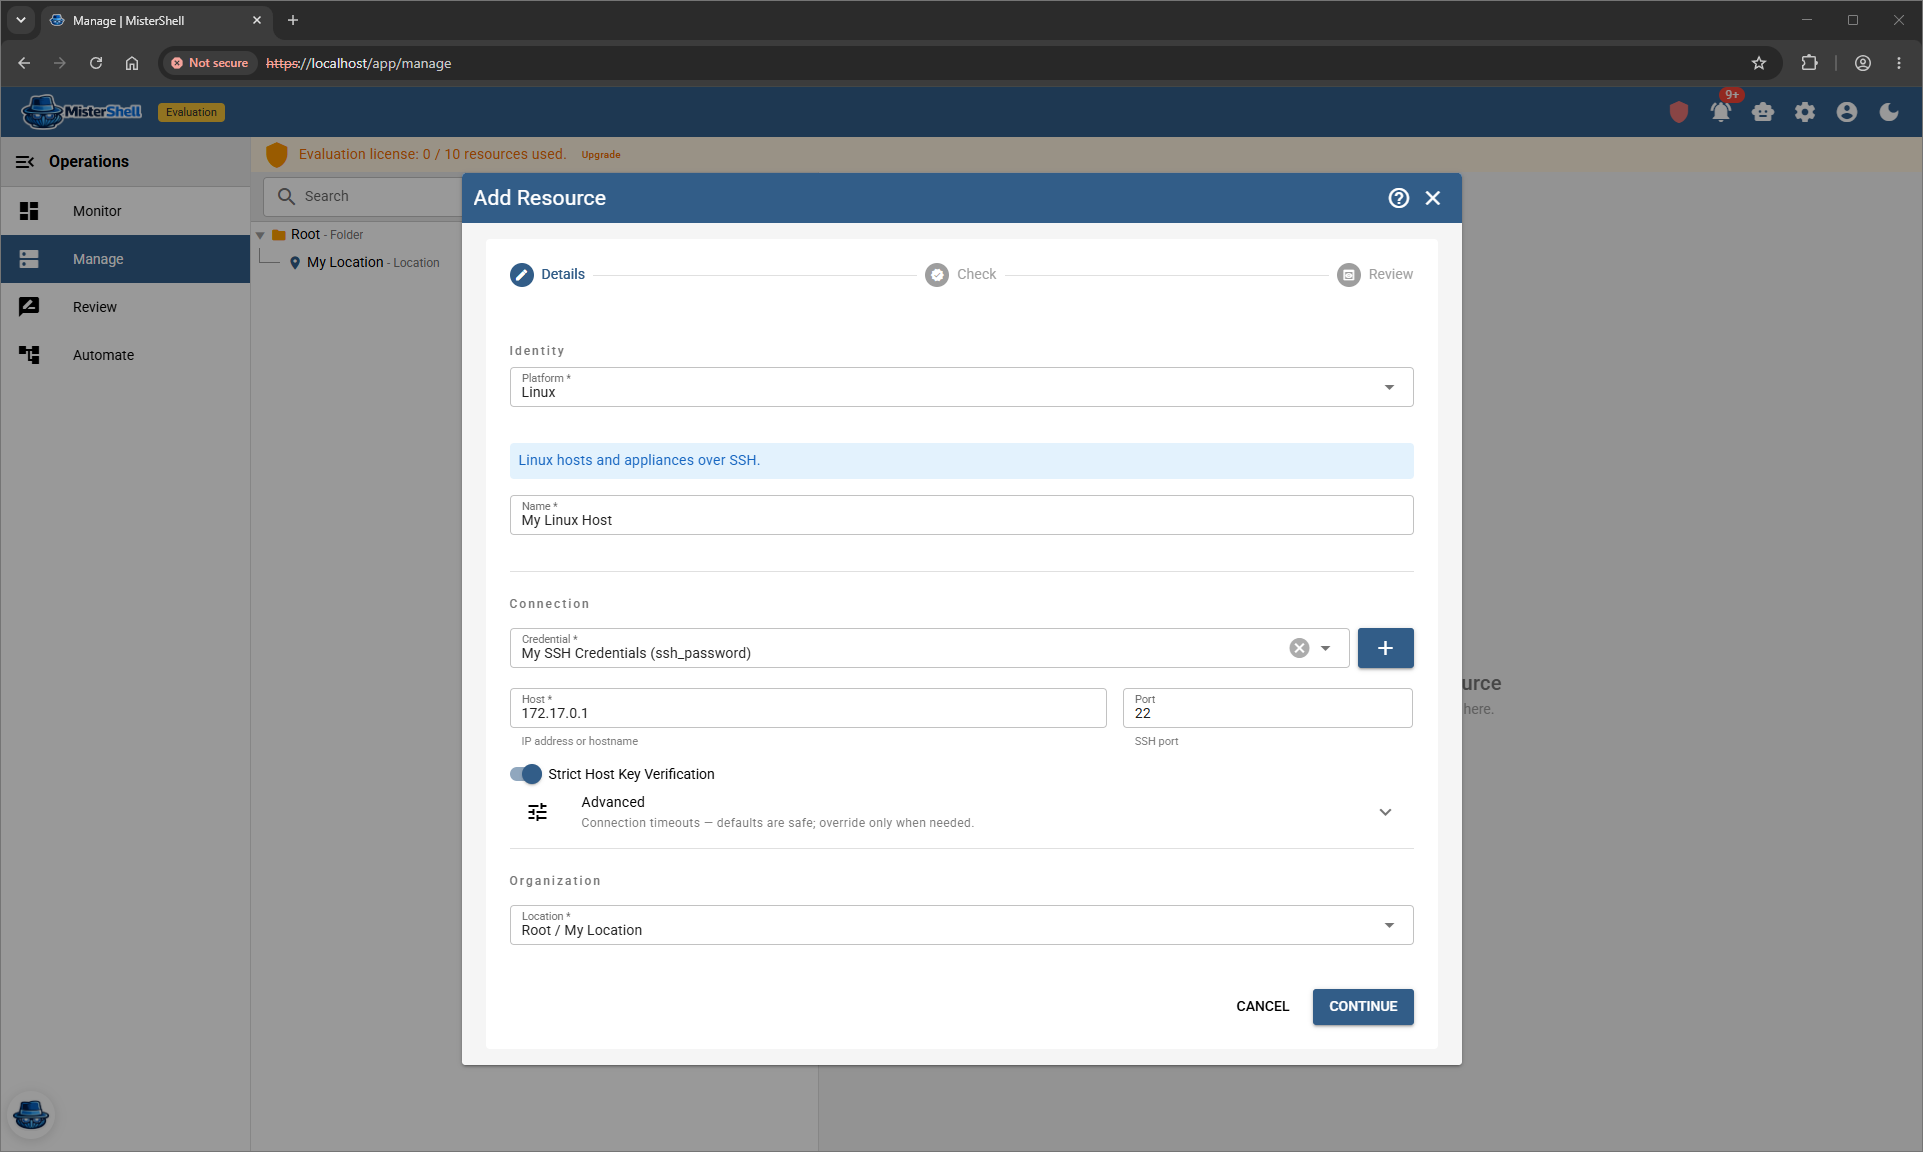
In Manage, open your location’s menu and choose Add Resource. A short Connection details → Verify & create flow captures the essentials:
- Connection method — SSH, with Host and Port an address the container can reach, on
22. - Credential — the one you created, or a new one via the +.
- Resource type — leave it on Detect automatically.
Click Continue. The check connects, detects the platform (Linux), and shows the device’s SSH host key fingerprint — review it, then click Create resource. The fingerprint is saved and verified on every later connection and background check. The resource appears with a green status dot and a Connect button.
7. Open your first session — with AI
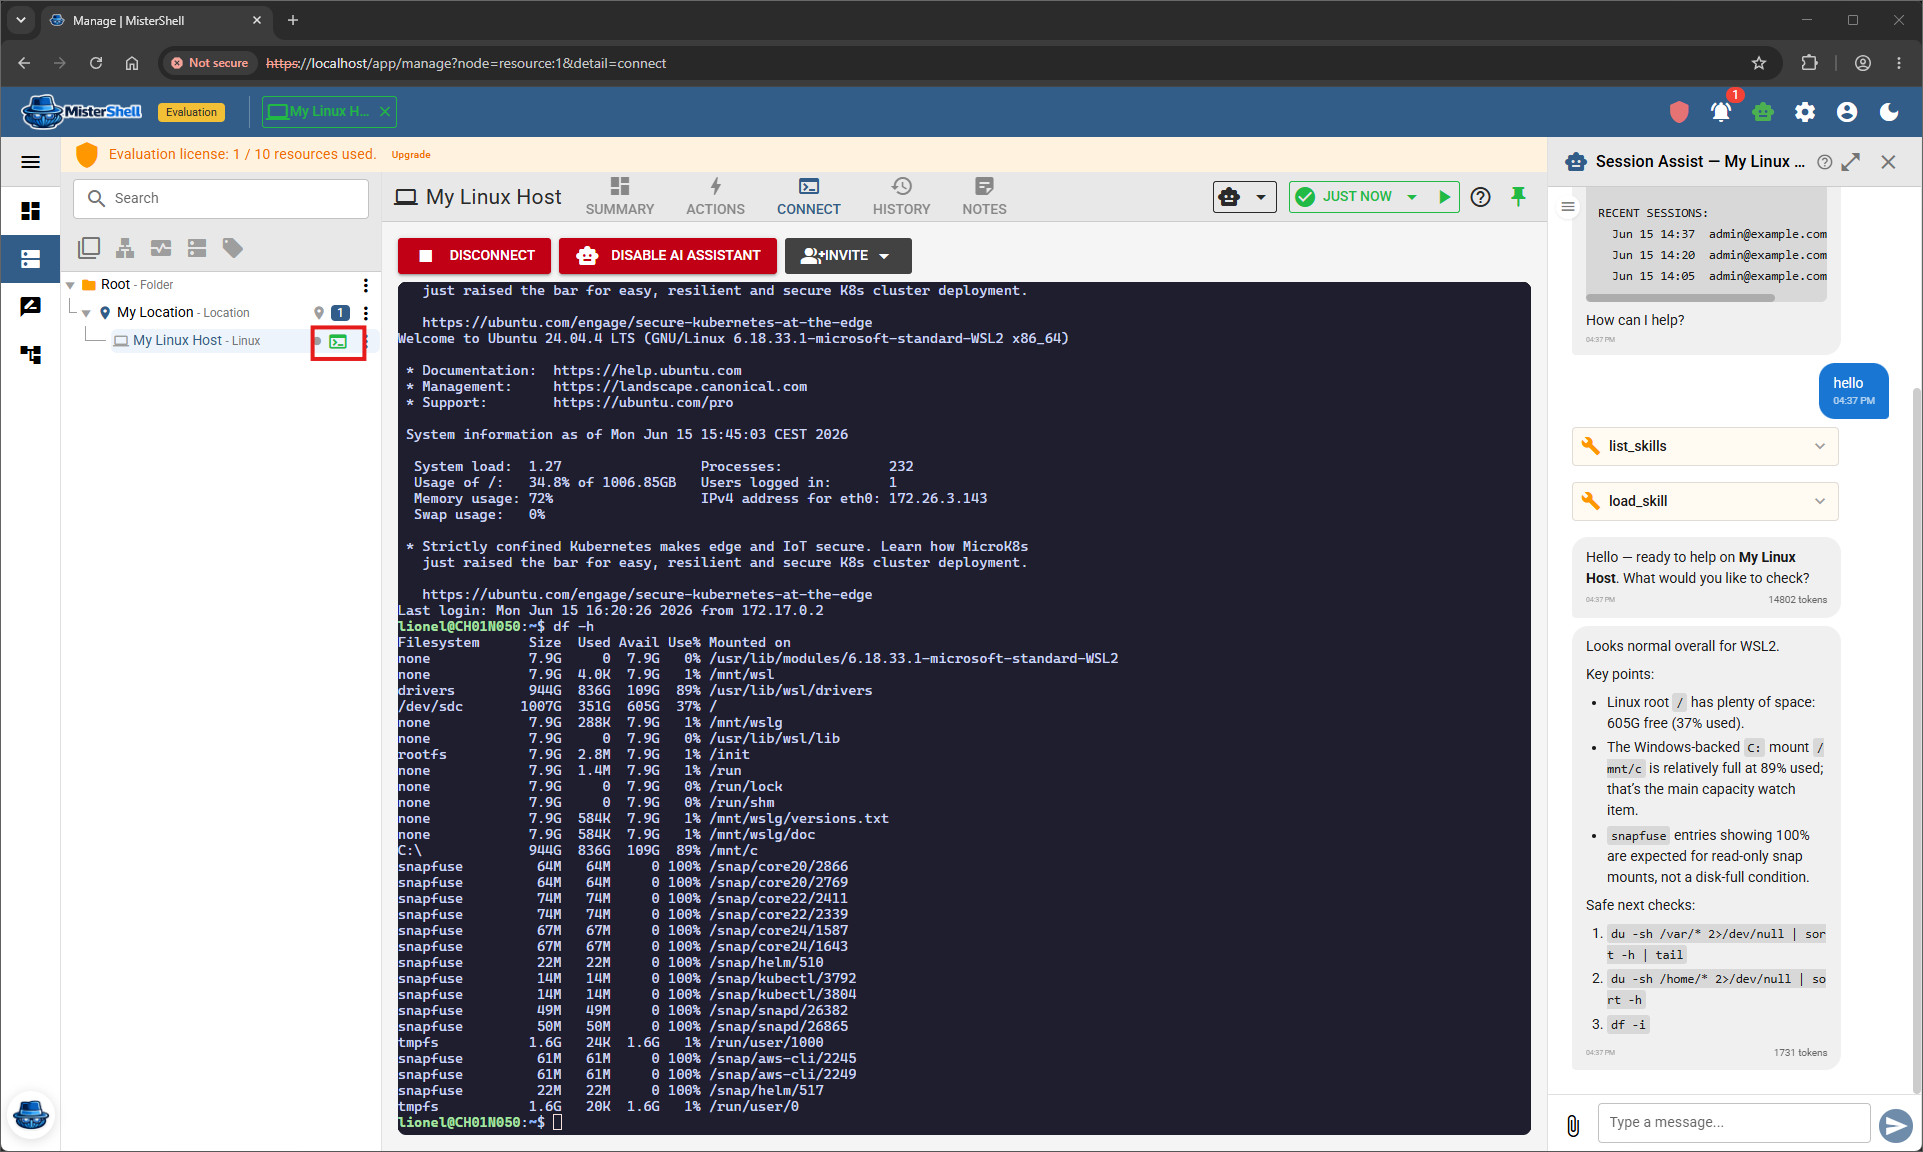
Click Connect on your resource. A live terminal opens in the browser — attributed to you from the first keystroke, with a Session Assist panel alongside it.
Run a command and the assistant analyzes the output for you: type df -h and it summarizes the disk usage and suggests safe next checks, no prompting required. You can ask it questions too — and everything it does stays inside the same guardrails and the same audit trail as your own keystrokes.
That’s the whole loop — identity, a vaulted credential, a verified resource, and an AI-assisted session attributed to you — on one container you control.
The free tier, and where to go next
The Free edition runs the core platform on 25 resources with no time limit — enough to put every session type, operational facts, governed file transfer, and the AI assistant through their paces. Session recording, replay, and the policy engines light up with the Enterprise edition.
A license lifts the 25-resource cap and climbs an edition ladder — each rung includes the ones below:
- Base — authoring your own commands, agents, prompts, and skills, plus reporting.
- Pro — remote workers to scale out and honor network-segmentation policies (each connects outbound-only, so nothing is exposed inbound; the embedded worker already reaches anything the core can route to), enterprise SSO over LDAP, OIDC, and SAML with directory-group role mapping, multi-core high availability, and SIEM export.
- Enterprise — the policy engines, session recording and replay, access approvals, automation playbooks, and configuration push.
- Add-ons, with any paid edition — syslog ingestion, IDS sensors for network-layer detection, and the session proxy behind external vendor invitations for time-boxed third-party access.
For production you’d also point the core at your own managed database and cache, and terminate TLS at a reverse proxy — the recommended approach, since it keeps certificate issuance and renewal automated outside MisterShell. It’s the same workspace either way — just bigger, never more complicated.